"What did you use to create that?"
This is the most common question that I get asked, so I assembled this list of the tools and papers that I use when sketching.
Keep in mind that while it's fun to discover and purchase new art supplies, most of the time, they won't improve your sketches. Instead, consider the experience and confidence gained by creating something compelling with only a ballpoint pen or a child's watercolor set.
INKING TOOLS & INKS
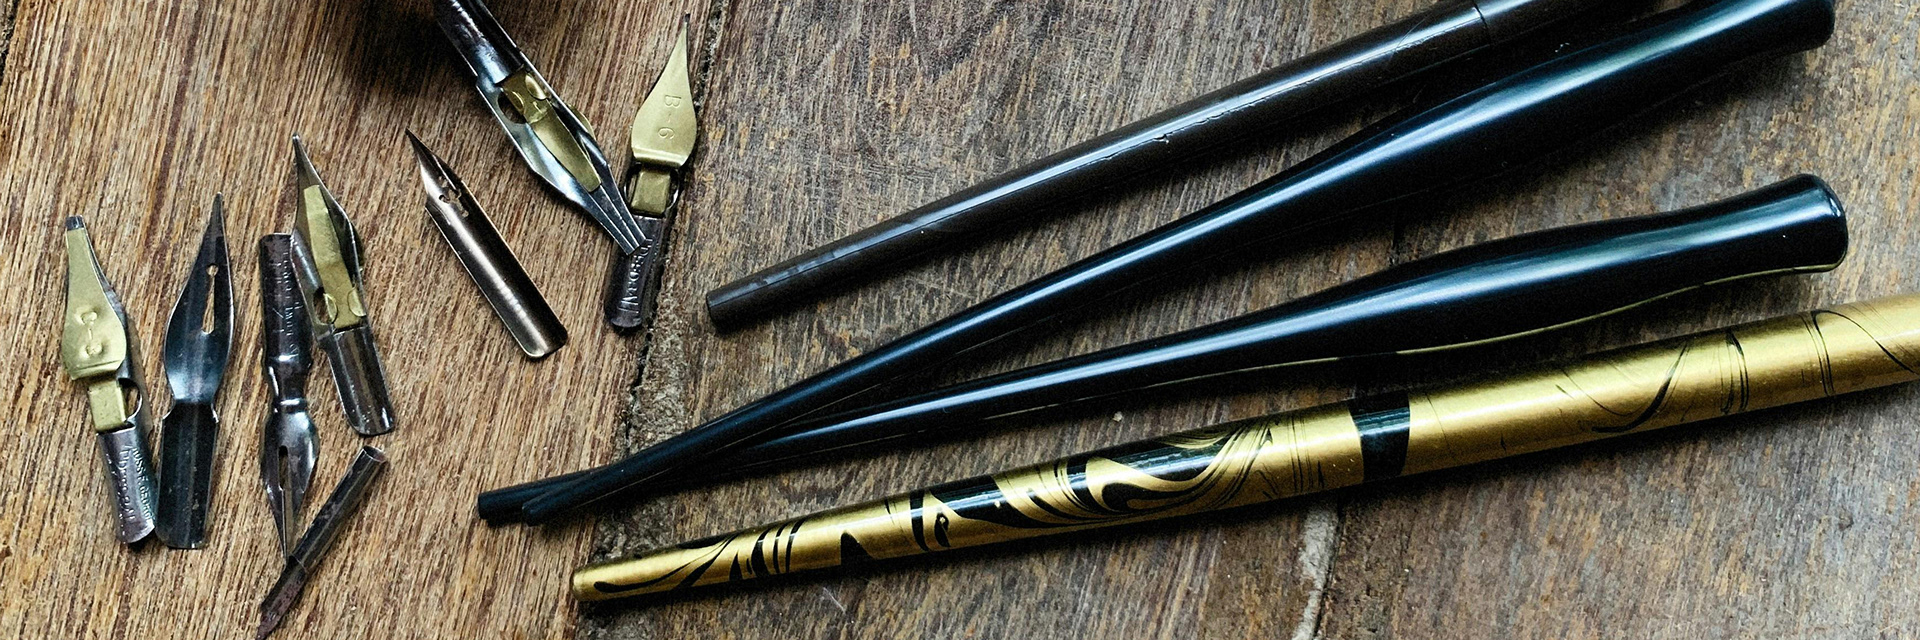
Options for laying down ink are endless, they range from very expensive fountain pens to shaved twigs taken from a tree.
My tools include brush pens, ballpoint pens, gel pens, fountain pens, dipping nibs with holders, multi-liners, calligraphy pens, paint brushes, water brushes, and angle-cut bamboo sticks.
My tools include brush pens, ballpoint pens, gel pens, fountain pens, dipping nibs with holders, multi-liners, calligraphy pens, paint brushes, water brushes, and angle-cut bamboo sticks.
In my experience Japanese brands make the best tools. These brands include Pentel, Tombow, Pilot, Kakimori, Kuretake, Copic, Zebra, Uniball, Sakura, Midori, and Sailor.
I purchase converters for all my fountain pens, so they can be refilled with waterproof ink. This makes it possible to later paint on top of the ink. Fountain pens need to be used regularly or cleaned to avoid clogging.
Dip pen nibs come in a wide variety of shapes and widths. One favorite is the Kakimori Dip Pen Nib. With its bullet-shaped chamber, it holds a lot of ink, and it can create a wide variety of marks. It's available in stainless steel or brass and requires a special nib holder. Pilot Parallel Pens are also worth trying. These calligraphy pens are fun to sketch with and come in nib widths from 1.5 to 6.0mm.
Dip pen nibs come in a wide variety of shapes and widths. One favorite is the Kakimori Dip Pen Nib. With its bullet-shaped chamber, it holds a lot of ink, and it can create a wide variety of marks. It's available in stainless steel or brass and requires a special nib holder. Pilot Parallel Pens are also worth trying. These calligraphy pens are fun to sketch with and come in nib widths from 1.5 to 6.0mm.
Each inking tool will make a unique type of mark and offer a different level of control. Surprisingly, the leakiest, most uncontrollable, and most smear-prone tools are the most fun to use and often create the most pleasing final image. On the other hand, the silky-smooth flow of a Lamy Safari fountain pen with a fude (bent) tip is a pleasure to use and a great travel choice.
I have several brands of bottled inks, including Speedball, de Atramentis, Winsor & Newton, Dr. Ph. Martin, and Daler-Rowney. My favorite waterproof inks are Noodler's Waterproof Black and Platinum Carbon Ink. Both are safe for fountain pens. Platinum Carbon Ink is also available as a prefilled cartridge, which can be used in some fountain pens.
For dip nibs and brushes, almost any ink or liquid media will work. I like the black marks made by the acrylic and India inks from Liquitex and Speedball, neither of which is safe for fountain pens.
While there is a wide range of available ink colors, I've only used black, blues, and browns. Specialized inks that feature granulation, fluorescence, or other effects are also available. But those novelty ink effects could compete with the sketch and might be best suited to calligraphy.
GRAPHITE & CHARCOAL
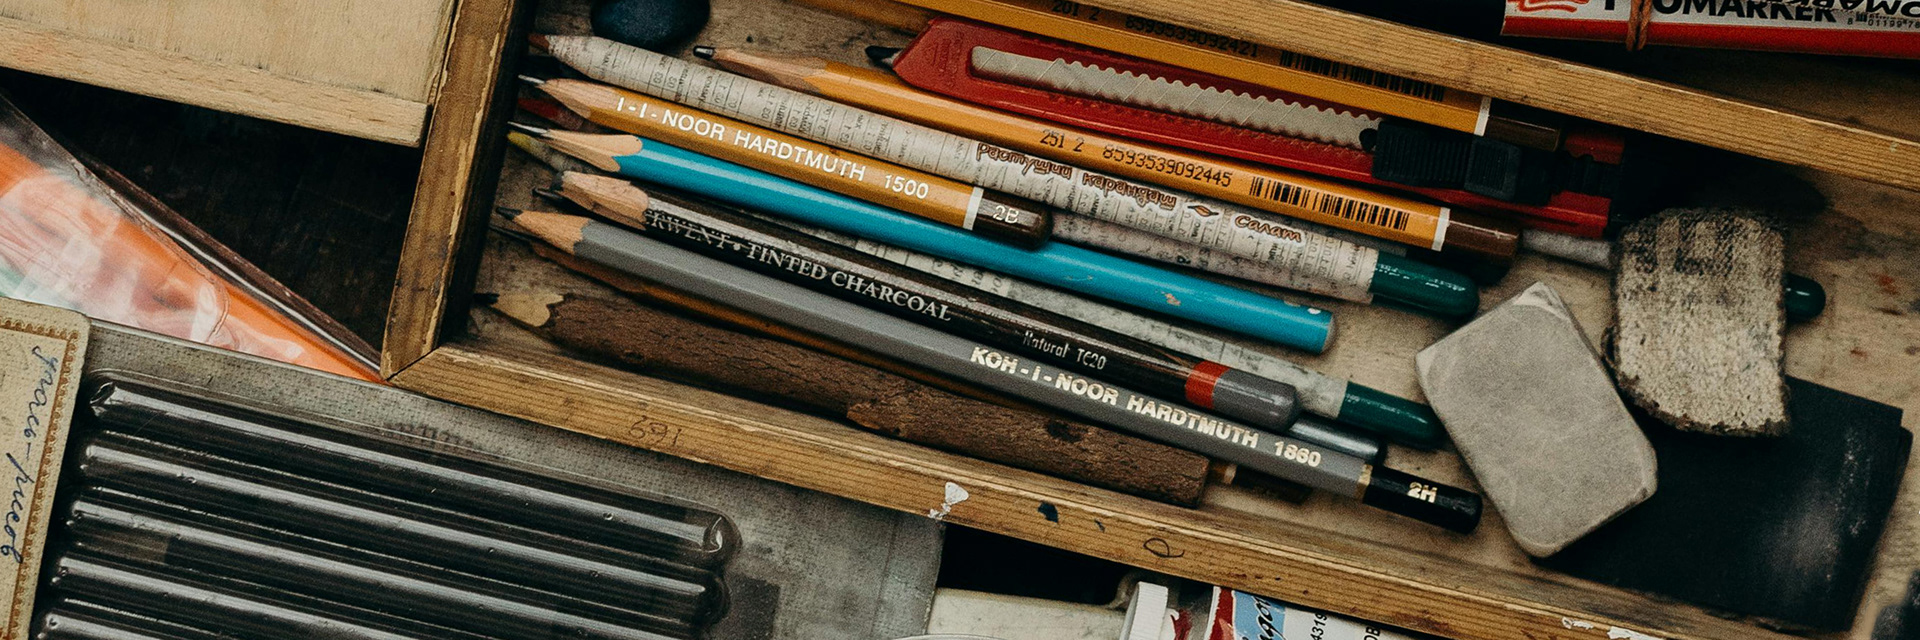
When first mapping out my sketches, I prefer a .5mm HB mechanical pencil or a 9mm graphite stick in a clutch holder. For sketching, I use pencils (F to 8B) by Derwent, Prismacolor Ebony, and Faber-Castell Polychromos. Recently, I've been using the wonderful Blackwing Matte Pencils. They are very black and do not have the shine of most graphite media. However, they are quite soft and wear down quickly.
If you are interested in non-pencil graphite marking tools, here are some suggestions. Lyra and General's graphite sticks, Kuretake liquid graphite, Cretacolor powdered graphite, and ArtGraf, Derwent, Kuretake water-soluble graphite.
For toned paper, there are white graphite pencils, but I haven't explored the world of colored pencils deeply enough to offer any suggestions.
My charcoal pencils (HB to 8B) are from General's and Ritmo. I also use pressed and vine charcoal sticks, as well as Raven and Coates powdered charcoal. Derwent has tinted and white charcoal pencils.
Charcoal can be messy, especially when using fingers to smear and blend. Consider thin latex gloves and a handheld electric vacuum for a cleaner sketching space.
Charcoal can be messy, especially when using fingers to smear and blend. Consider thin latex gloves and a handheld electric vacuum for a cleaner sketching space.
After trying many sharpeners, both manual and electric, I prefer General's Red Plastic Sharpeners. However, the best results are achieved by using a utility blade to carefully shave (away from yourself) a pencil to a long point.
Clutch pencils often include built-in sharpeners inside the grips, and any graphite or charcoal tip can be shaped with sandpaper. Stubby, short pencils can be given a longer life using pencil holders.
Clutch pencils often include built-in sharpeners inside the grips, and any graphite or charcoal tip can be shaped with sandpaper. Stubby, short pencils can be given a longer life using pencil holders.
Erasers are essential tools when working with both graphite and charcoal. You can select from gum, plastic, vinyl, sticks, and electric. Thin aluminum eraser shields are also helpful. For blending, I use paper tortillons & stumps, paintbrushes, sponges, makeup applicators, and cotton swabs.
PASTELS & MARKERS
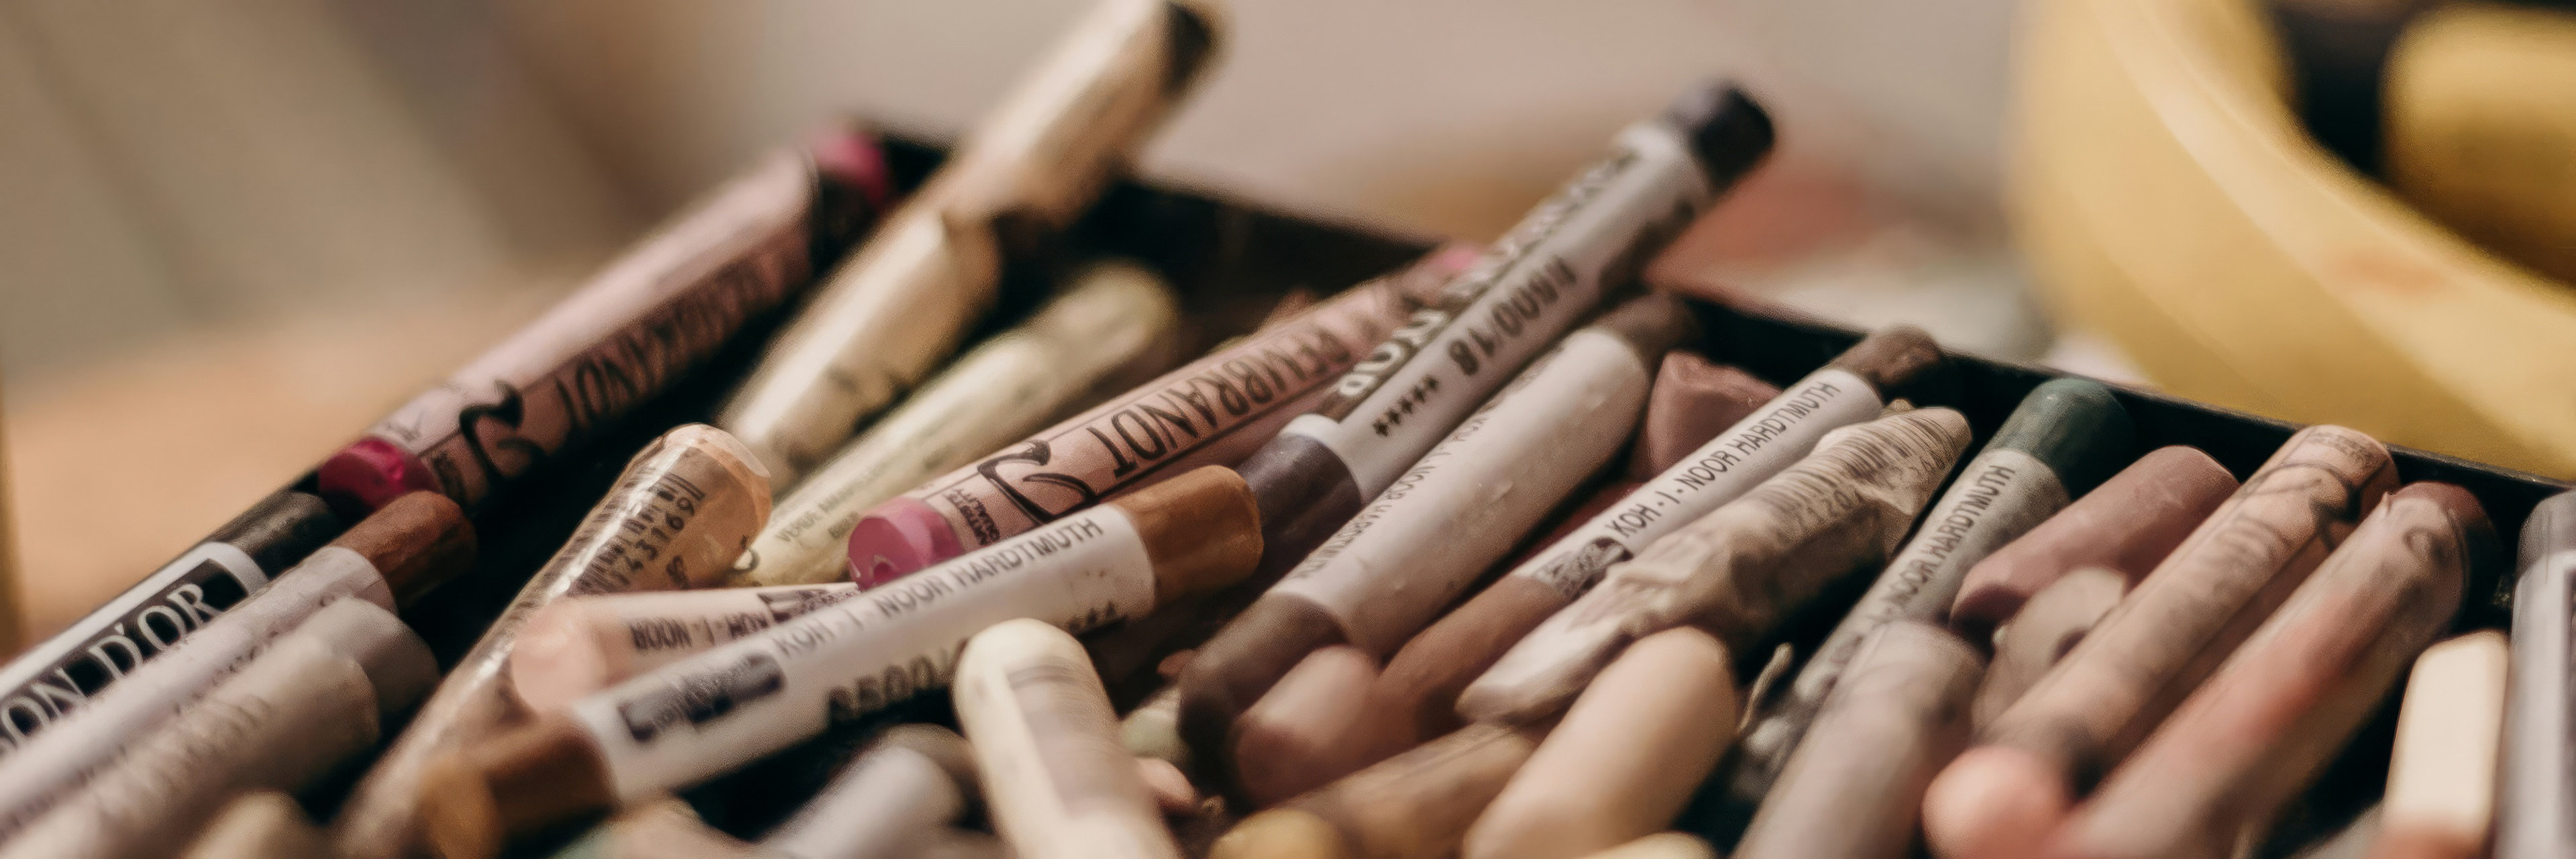
The world of pastels can be confusing. There are hard pastels, soft pastels, pastel pencils, oil pastels, water-resistant wax pastels, and Conté à Paris pastels in a multitude of brands. Liquid and water-soluble pastels, when activated, look like watercolors. However, this is another medium that I haven't explored deeply enough to offer advice.
Similarly, markers come in a wide range of options. I use both alcohol and acrylic-based art markers. Brands include Stabilo, Prismacolor, Copic, Sakura, Winsor & Newton, Pagather, Molotow, Tombow, and Kuretake. Most markers will bleed through even the thickest paper and need to be backed with a blotting sheet.
As a rule, markers are unforgiving, with few options to correct errors. Blending and overlaying marker colors is possible but takes practice. Still, their vibrant, bold marks make them a perfect choice for the right type of sketch.
As a rule, markers are unforgiving, with few options to correct errors. Blending and overlaying marker colors is possible but takes practice. Still, their vibrant, bold marks make them a perfect choice for the right type of sketch.
WATERCOLOR & Watercolor BRUSHES
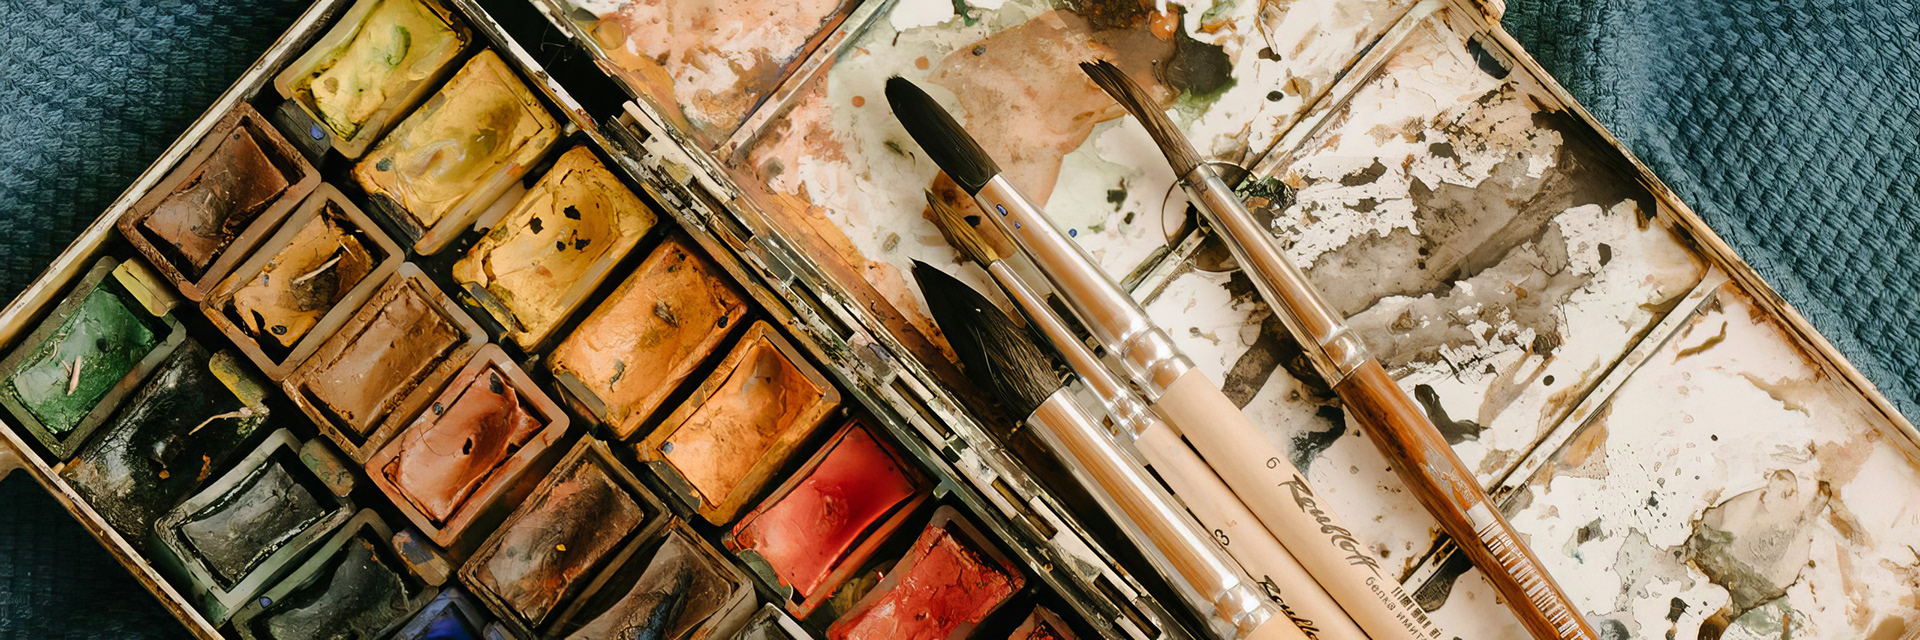
Watercolors are popular because they offer the fastest way to access the entire color spectrum with sketching. Additionally, expressive, bold, and evocative strokes can be achieved simply by how a brush is held or moved (from the arm, wrist, or hand).
I have several watercolor palettes in various sizes, quality levels, and forms (pans, half pans, and tubes) from Daler-Rowney, Paul Reubens, Kuretake, Winsor & Newton, Arteza, and Sakura. I combine colors from various brands to create a custom palette with my favorites.
Like every artist, I have dozens and dozens of brushes of all types, lengths, sizes, and qualities, and have no idea where they all came from. I find the most versatile brush to be a medium-sized round sable mop. I quality one can hold a lot of water while maintaining its point for detailed painting.
For travel, water brushes are a good option, and they are available with a variety of brush tips. Watercolor brush pens and watercolor pencils are alternatives to conventional watercolors.
SKETCHBOOKS & PAPER
Sketchbooks are my preferred surface due to their compact portability. I enjoy the intimate feel of working in A4 (8.27 x 11.69 inch) or A5 (5.83 x 8.27 inch) formats. With sketchbooks, dozens of thematic, stylistically, or chronologically related sketches can be bound together permanently. Sketchbooks are also convenient when traveling or attending events.
I started out using Moleskine sketchbooks, but became unhappy with their paper quality and limited options. I've since switched to Stillman & Birn Sketchbooks and been pleased. S&B offers a wide variety of paper weights, colors, and surfaces, as well as sizes and formats (horizontal and vertical). I especially like their Beta Series. It has a very thick 270 GSM weight, which holds up well, should I decide to add wet media or markers to a sketch.
I started out using Moleskine sketchbooks, but became unhappy with their paper quality and limited options. I've since switched to Stillman & Birn Sketchbooks and been pleased. S&B offers a wide variety of paper weights, colors, and surfaces, as well as sizes and formats (horizontal and vertical). I especially like their Beta Series. It has a very thick 270 GSM weight, which holds up well, should I decide to add wet media or markers to a sketch.
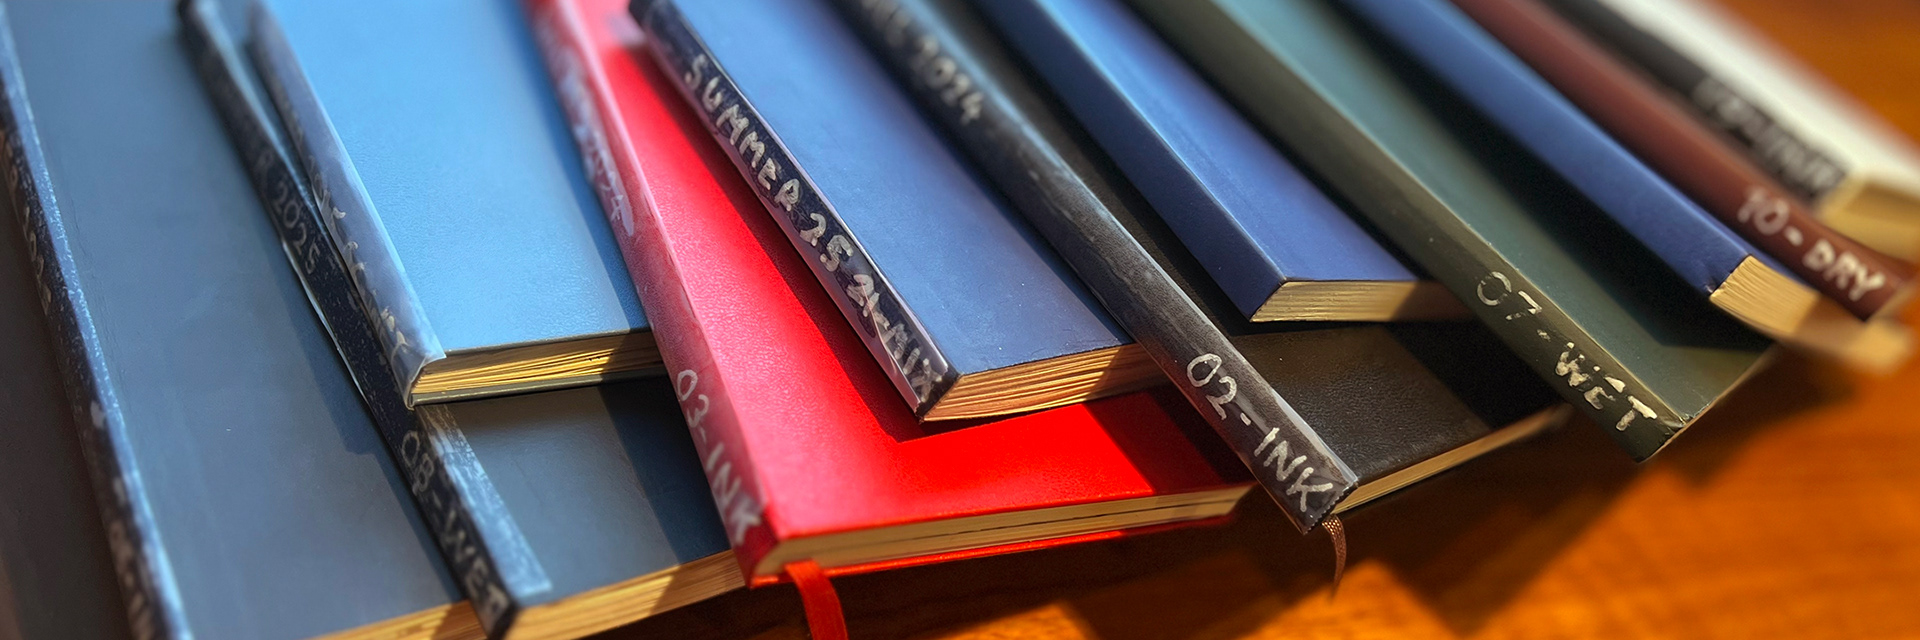
I maintain numerous sketchbooks at the same time in various sizes and orientations. I'll use one for ink, another for dry media like graphite and charcoal, and another for wet media like watercolor or water-soluble graphite.
Additionally, I always keep a small A6 (4.13 x 5.83 inch) sketchbook and pencil tucked into my passport-sized wallet for when I'm out of the studio and spot something interesting to sketch.
I also use a wide variety of paper pads – watercolor, pastel, marker, Bristol, mixed media, toned, etc. But I'm not loyal to any particular brand, type, or paper weight. I also do not have a strict preference for surfaces. I switch between hot press, cold (or not) press, and smooth.
Probably due to their wide availability, I find that most of my pads are from Arches, Strathmore, and Canson; these pad sizes generally range from 8x10 (A4) up to 11x17 (A3).
For single sheets, again, I select them on a case-by-case basis, occasionally opting for distressed, deckle-edged, handmade, or rice papers as I feel might be appropriate or interesting. Single-sheet papers are widely available in sizes larger than A3 and are great for creating major pieces. The downside is storing such large sheets before and after use.
"ANY TIPS FOR BEGINNERS?"
Beyond the obvious advice to sketch as often as possible and not compare yourself to others, here are some tips that may help to make help you get better.
EMBRACE YOUR sketchbook
Consider your sketchbook as a place for experimentation and documenting your growth. Embrace your mistakes and don't tear out pages. If you create something spectacularly awful, you can 'dance on its grave' by covering the entire page in ink or acrylic paint and sketching on top using an opaque medium.
When facing a new, pristine sketchbook, it can be intimidating. I suggest starting one-quarter of the way in, then after you've gained some confidence and rhythm, go back and fill in the previous pages. I number, date, and hold on to all my old sketchbooks.
Drawing is the MOST fundamental skill
The ability to render objects and people in believable proportion and perspective is crucial, even if your art is non-representational. Once you can look at a scene and accurately recreate its forms on paper, your art will take off. Learn how to draw well, then keep striving to improve.
The ability to render objects and people in believable proportion and perspective is crucial, even if your art is non-representational. Once you can look at a scene and accurately recreate its forms on paper, your art will take off. Learn how to draw well, then keep striving to improve.
Framing, contrast, and focus are AS important AS TOOL mastery
When starting a sketch, first consider how the foreground, midground, and background elements will overlap and interact. Next, create visual interest by building contrast through scale, color, value, line weight, or combined media. Finally, learn how to guide the viewer's focus to what you want to emphasize in your sketch.
When starting a sketch, first consider how the foreground, midground, and background elements will overlap and interact. Next, create visual interest by building contrast through scale, color, value, line weight, or combined media. Finally, learn how to guide the viewer's focus to what you want to emphasize in your sketch.
My sketching process
I begin by very loosely mapping out my scene with a pencil, eyeballing the subject to establish scale, perspective, and relationships. I then ink, draw, or paint over the pencil map, attempting to create interesting and varied marks on the paper. After that, I decide if the sketch would benefit from adding a second medium, shading for depth, volume, or to direct focus.
I begin by very loosely mapping out my scene with a pencil, eyeballing the subject to establish scale, perspective, and relationships. I then ink, draw, or paint over the pencil map, attempting to create interesting and varied marks on the paper. After that, I decide if the sketch would benefit from adding a second medium, shading for depth, volume, or to direct focus.
Consider joining a group or club
There are many organizations, such as Urban Sketchers, that you can find online. They offer the chance to sketch as a group in public without feeling conspicuous. You may also make friends while learning from others with similar interests. My limited experience with group sketching has been that attendees are of all skill levels and are always non-competitive and supportive.
There are many organizations, such as Urban Sketchers, that you can find online. They offer the chance to sketch as a group in public without feeling conspicuous. You may also make friends while learning from others with similar interests. My limited experience with group sketching has been that attendees are of all skill levels and are always non-competitive and supportive.
Don't try to recreate a scene EXACTLY
Unless you're creating a portrait, add, modify, and omit details in your sketches. A scene rendered with each window perfectly placed is boring and impersonal. Your goal should be to add your perspective to a scene, not just document it; otherwise, you might as well use a camera.
Unless you're creating a portrait, add, modify, and omit details in your sketches. A scene rendered with each window perfectly placed is boring and impersonal. Your goal should be to add your perspective to a scene, not just document it; otherwise, you might as well use a camera.
Lastly, you might not be able to see your improvement
Being close to your art, you may only see flaws. Conversely, friends and family tend to be overly supportive and will praise everything you create. If you are looking to gauge your progress, I suggest returning to artists you admired in the past on Instagram or elsewhere. If some of their work or techniques now feel within your reach, you'll know you've improved.
Being close to your art, you may only see flaws. Conversely, friends and family tend to be overly supportive and will praise everything you create. If you are looking to gauge your progress, I suggest returning to artists you admired in the past on Instagram or elsewhere. If some of their work or techniques now feel within your reach, you'll know you've improved.
©2025 Ramsey Said, All Rights Reserved | Instagram: ram.seaside